HPS+FPGA
Create a directory lab7, download my_first_hps-fpga_base.7z and unpack the file to the directory.
Device Tree
Device Tress of DE0 Nano Soc requires some change before using FPGA.
First partition of microSD card contains DTB file, this file describes connections and configurations of earch peripherial on the board. FPGA bridge that allows to exchange data between FPGA and HPS is disbled by default. To enable FPGA bridge DTB must be decompiled to DTS.
dtc -I dtb -O dts socfpga_cyclone5_de0_nano_soc.dtb -o socfpga_cyclone5_de0_nano_soc.dts
Int the socfpga_cyclone5_de0_nano_soc.dts you should find a text that you can see below.
		fpga_bridge@ff400000 {
			compatible = "altr,socfpga-lwhps2fpga-bridge";
			reg = <0xff400000 0x100000>;
			resets = <0x06 0x61>;
			clocks = <0x05>;
			status = "okay";
			phandle = <0x49>;
		};
Add bridge-enable = <0x01>; to the FPGA bridge, like below
		fpga_bridge@ff400000 {
			compatible = "altr,socfpga-lwhps2fpga-bridge";
			reg = <0xff400000 0x100000>;
			resets = <0x06 0x61>;
			clocks = <0x05>;
			status = "okay";
			bridge-enable = <0x01>;
			phandle = <0x49>;
		};
Write file, and compile DTS to DTB.
dtc -I dts -O dtb -o socfpga_cyclone5_de0_nano_soc.dtb socfpga_cyclone5_de0_nano_soc.dts
Put the card again into the board and run the system.
Writing a software
Download hps-c.7z and unpack the file to the directory lab7. Open the terminal in a new directory.
export SOCEDS_DEST_ROOT=~/intelFPGA/20.1/embedded/
make
The result of compilation is my_first_hps-fpga.
Platform Designer
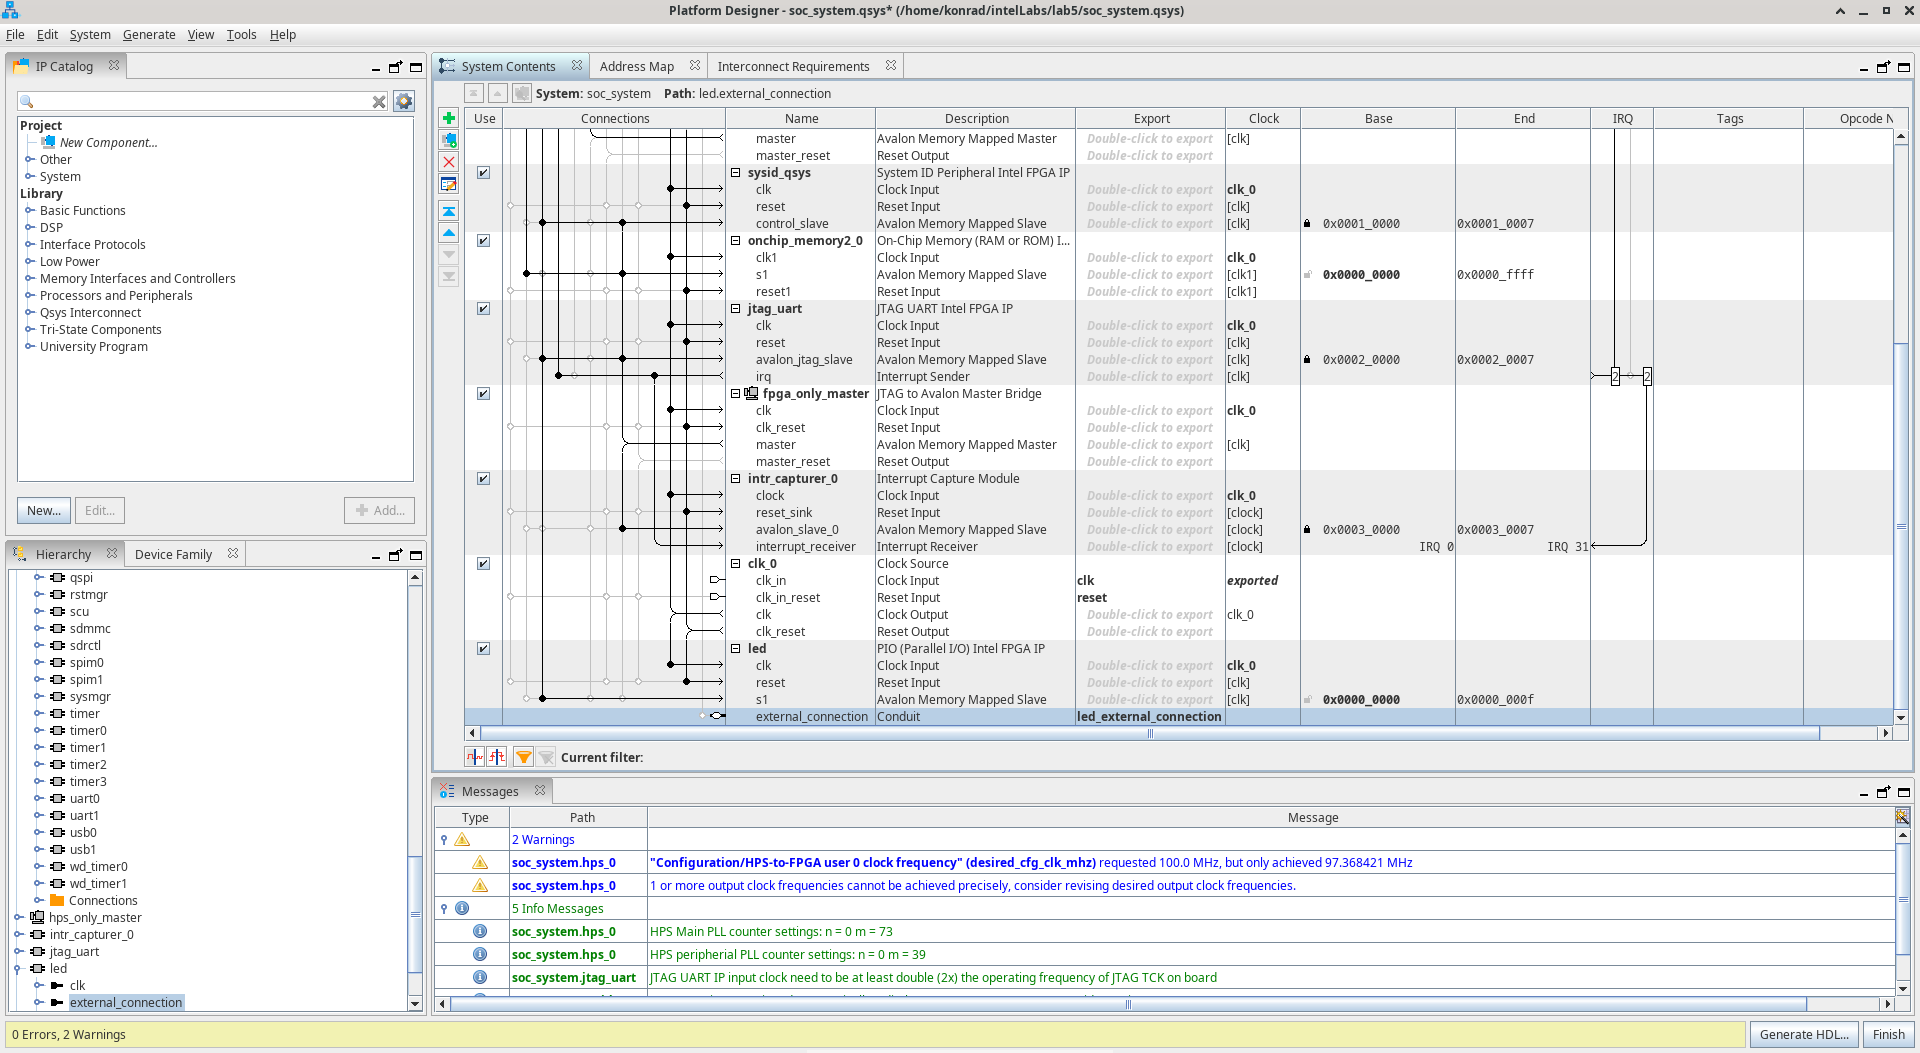
Open Platfrom Designer, then load soc_system.qsys from lab7/my_first_hps-fpga_base.
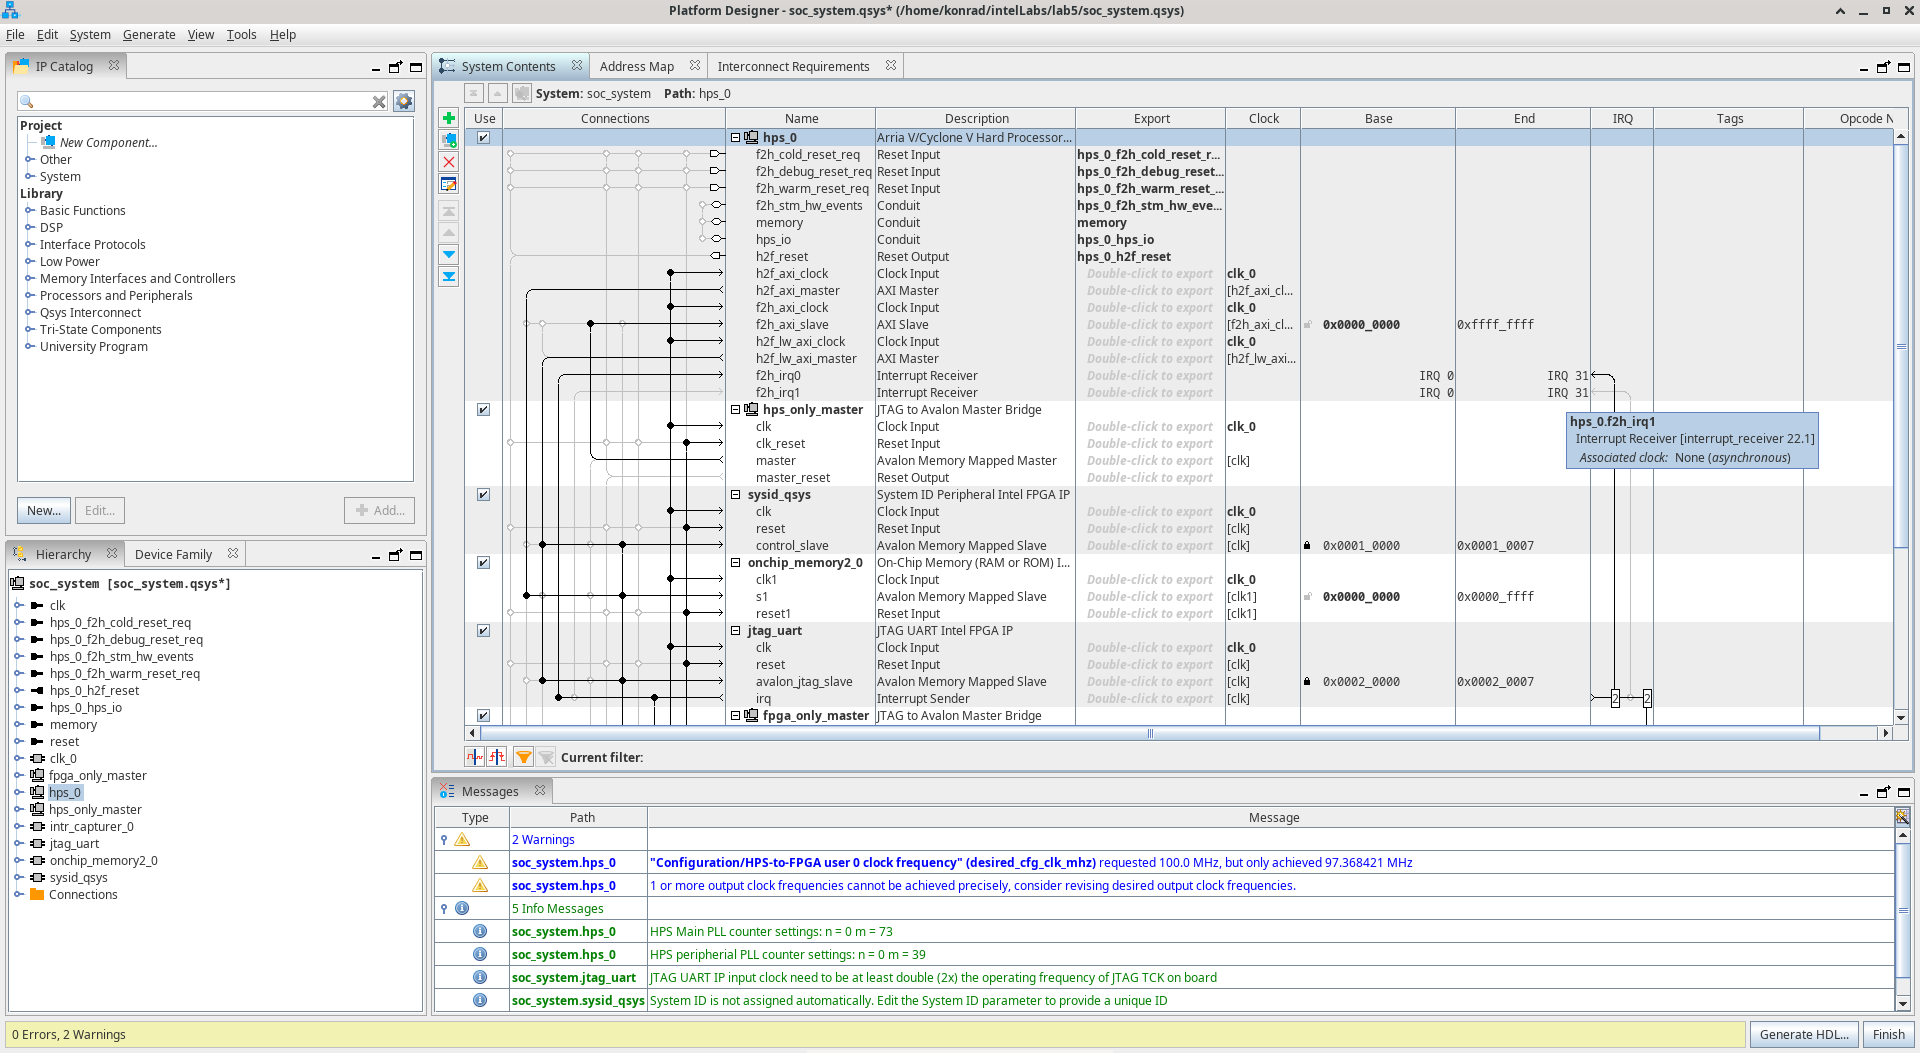
Find PIO (Parallel I/O) Intel FPGA IP in IP Catalog.
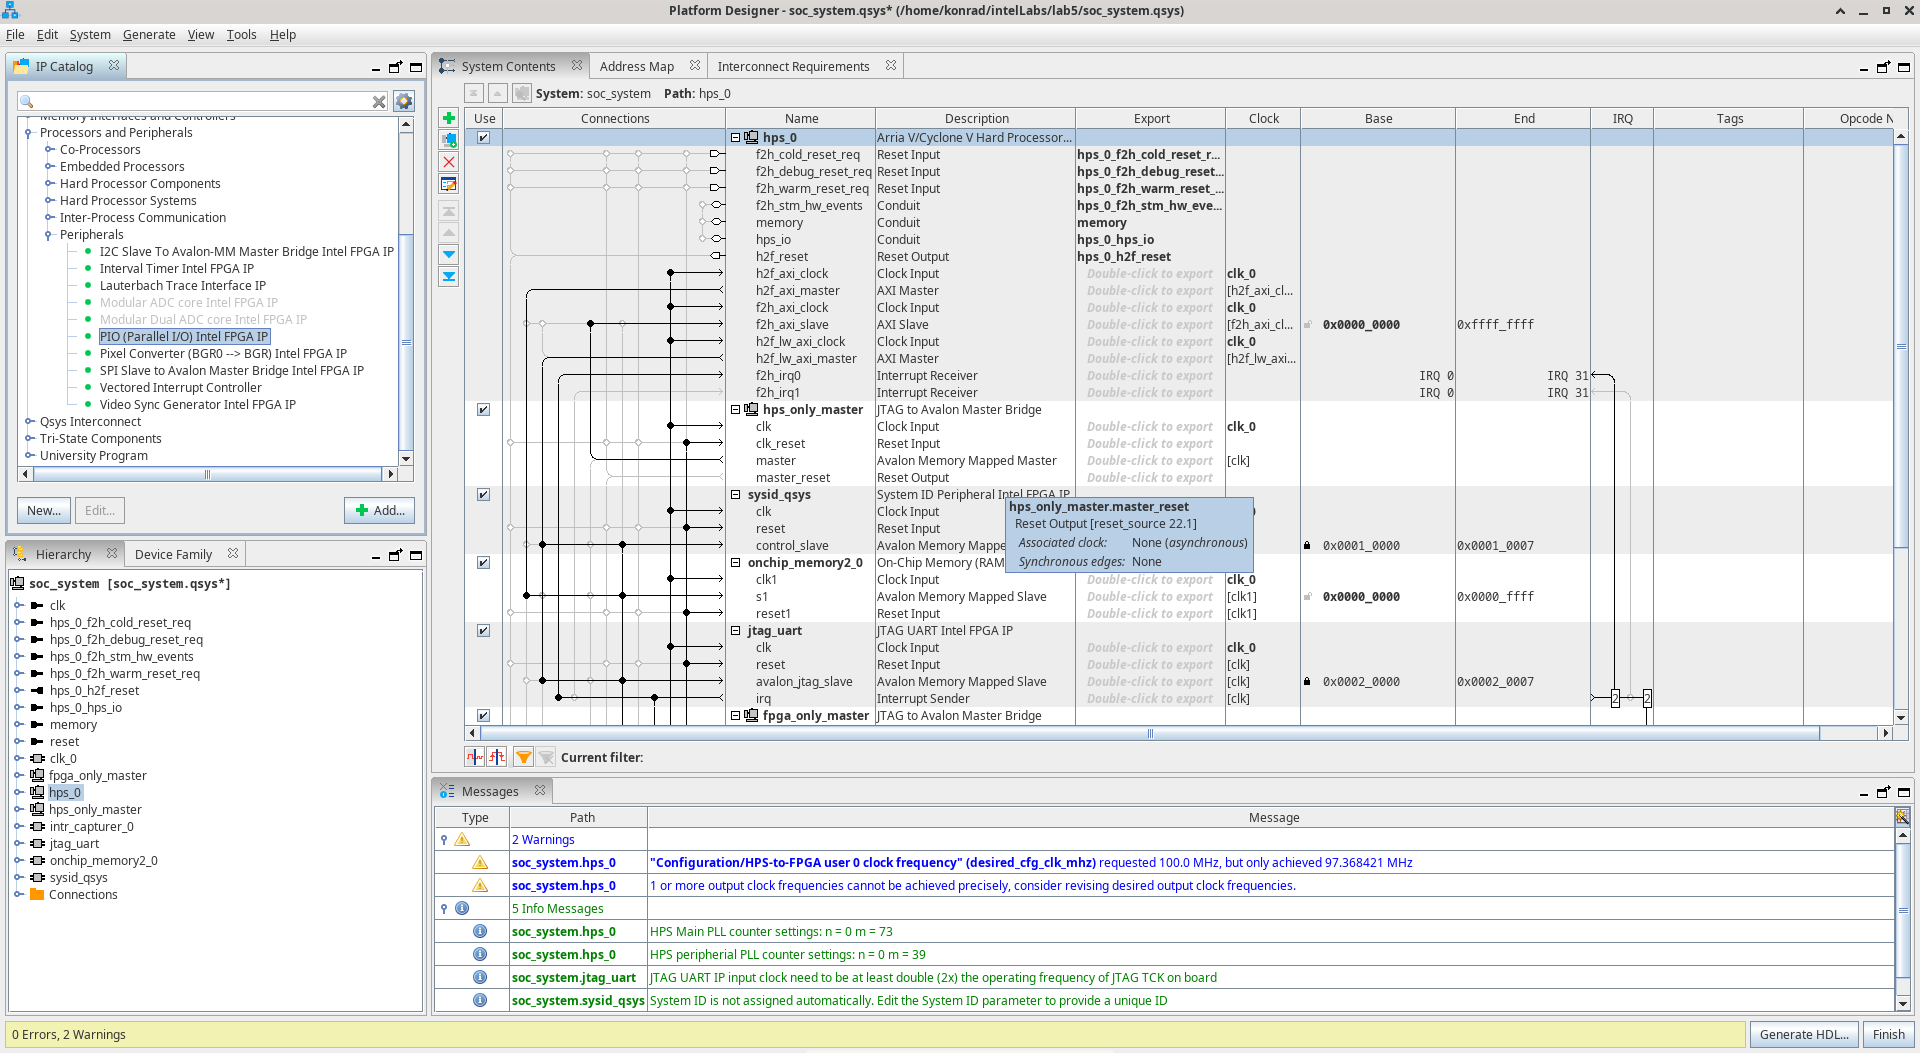
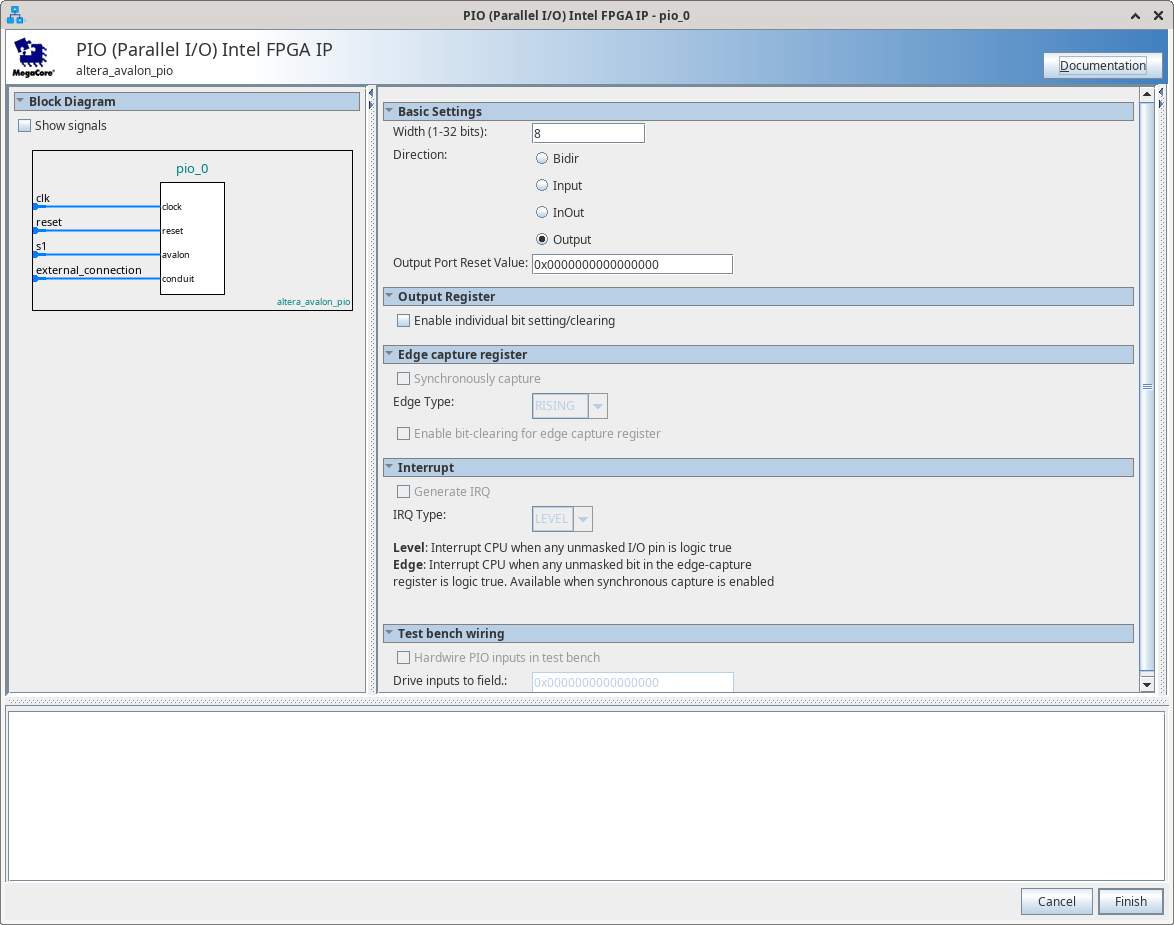
Double click PIO (Parallel I/O) Intel FPGA IP to add IP Core to the project.
Leave a default configuration and press Finish.
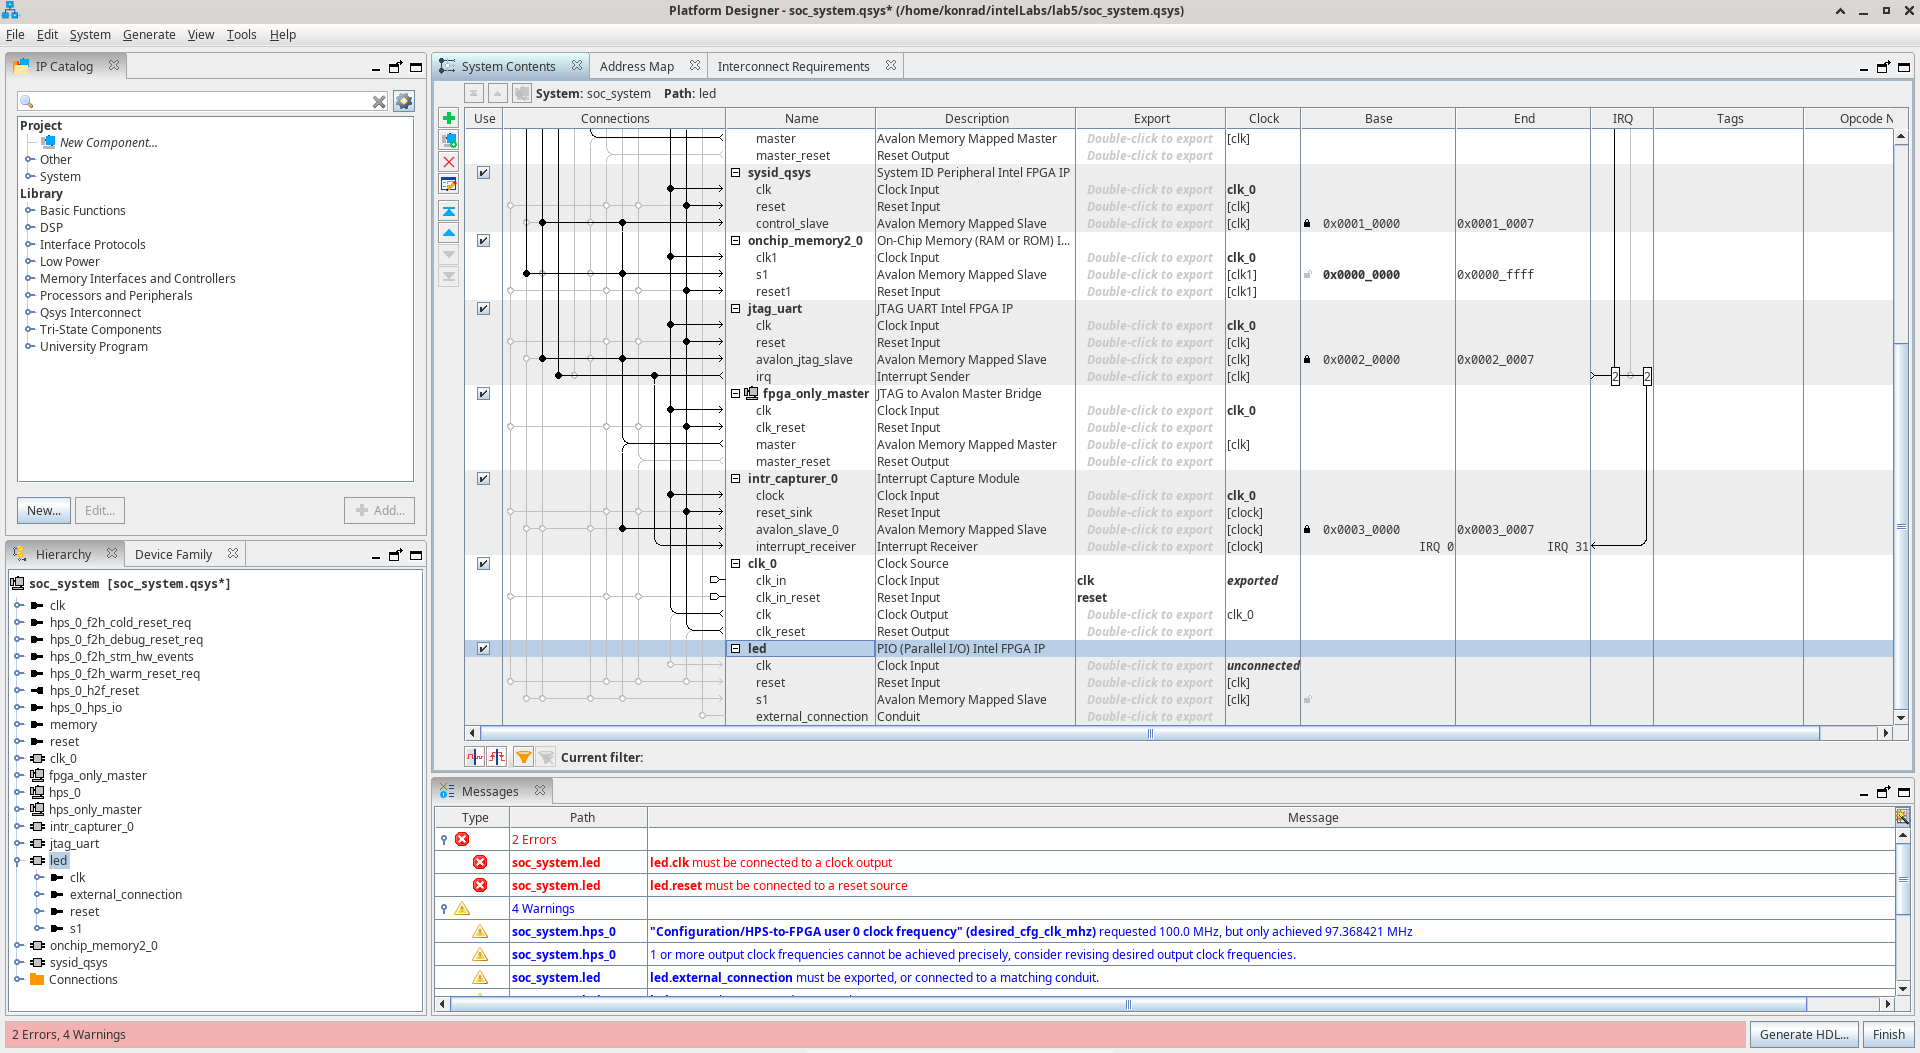
Check if pio_0 exists in the project.
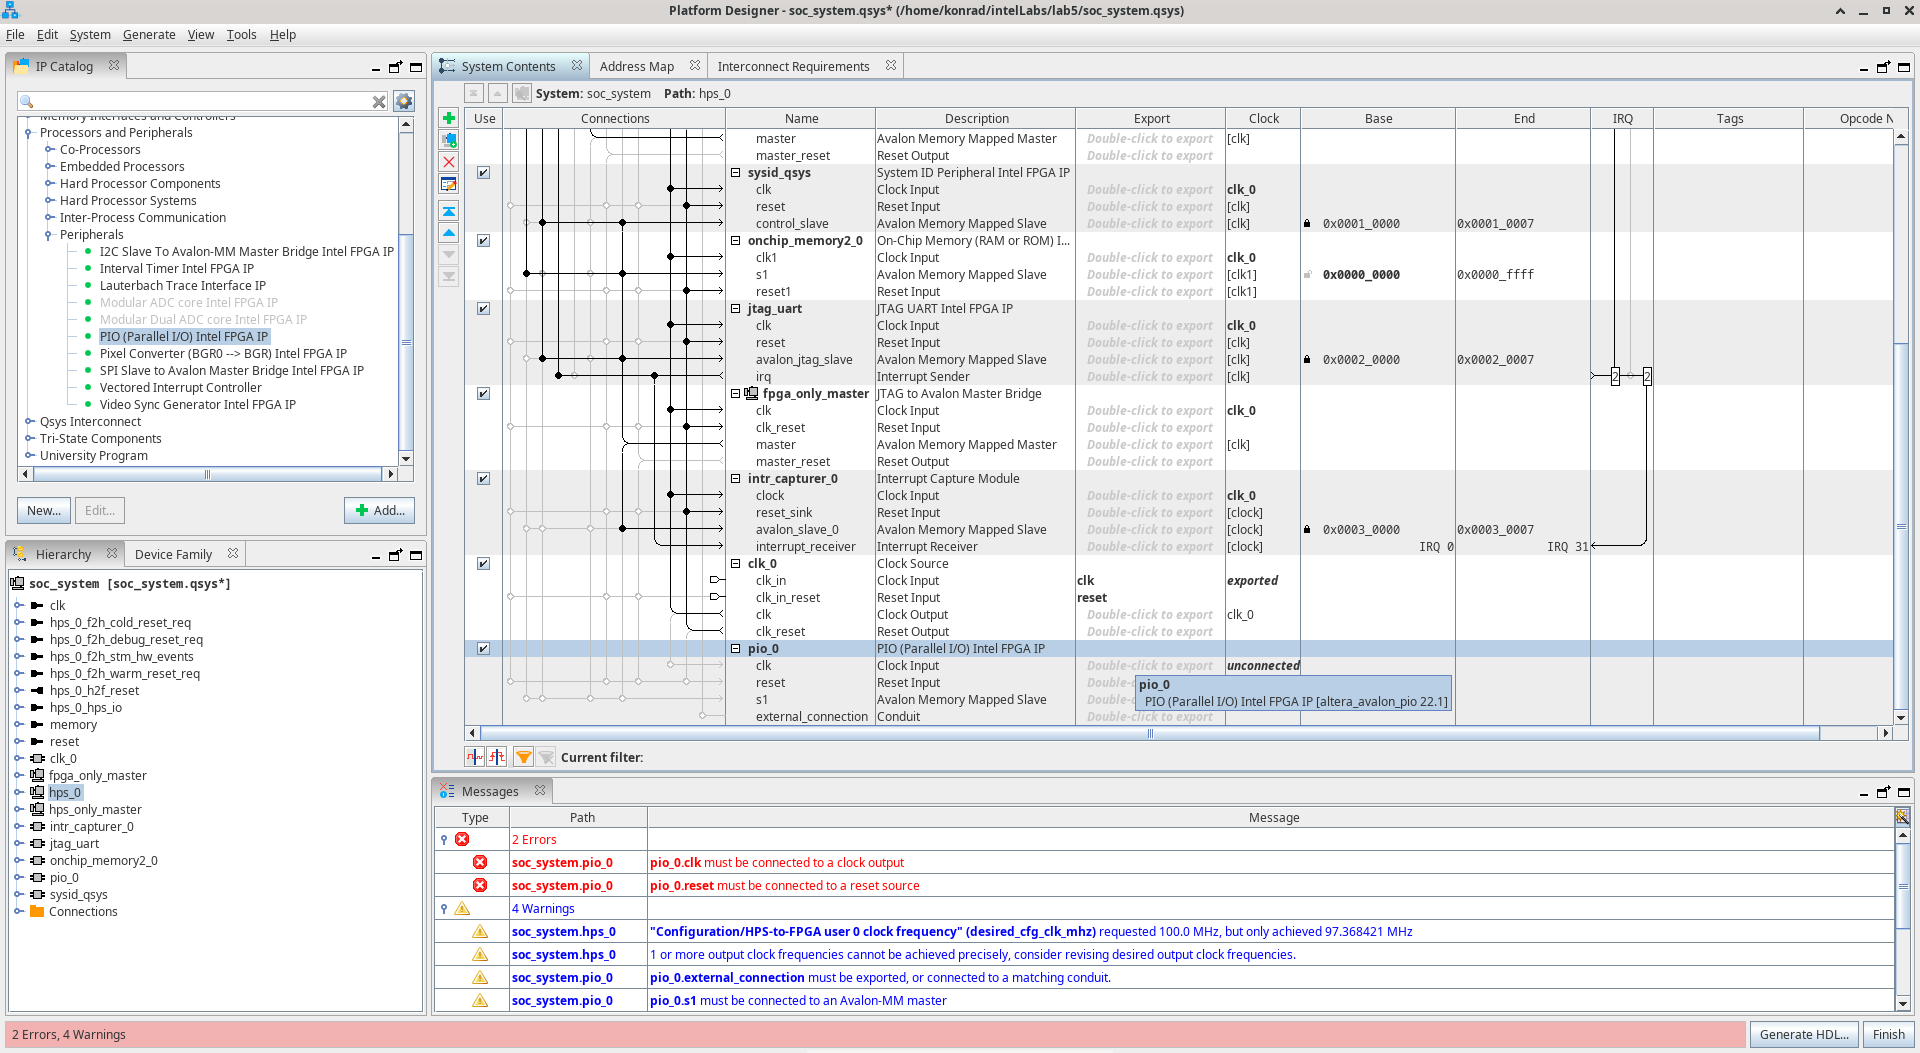
Rename pio_0 to led.
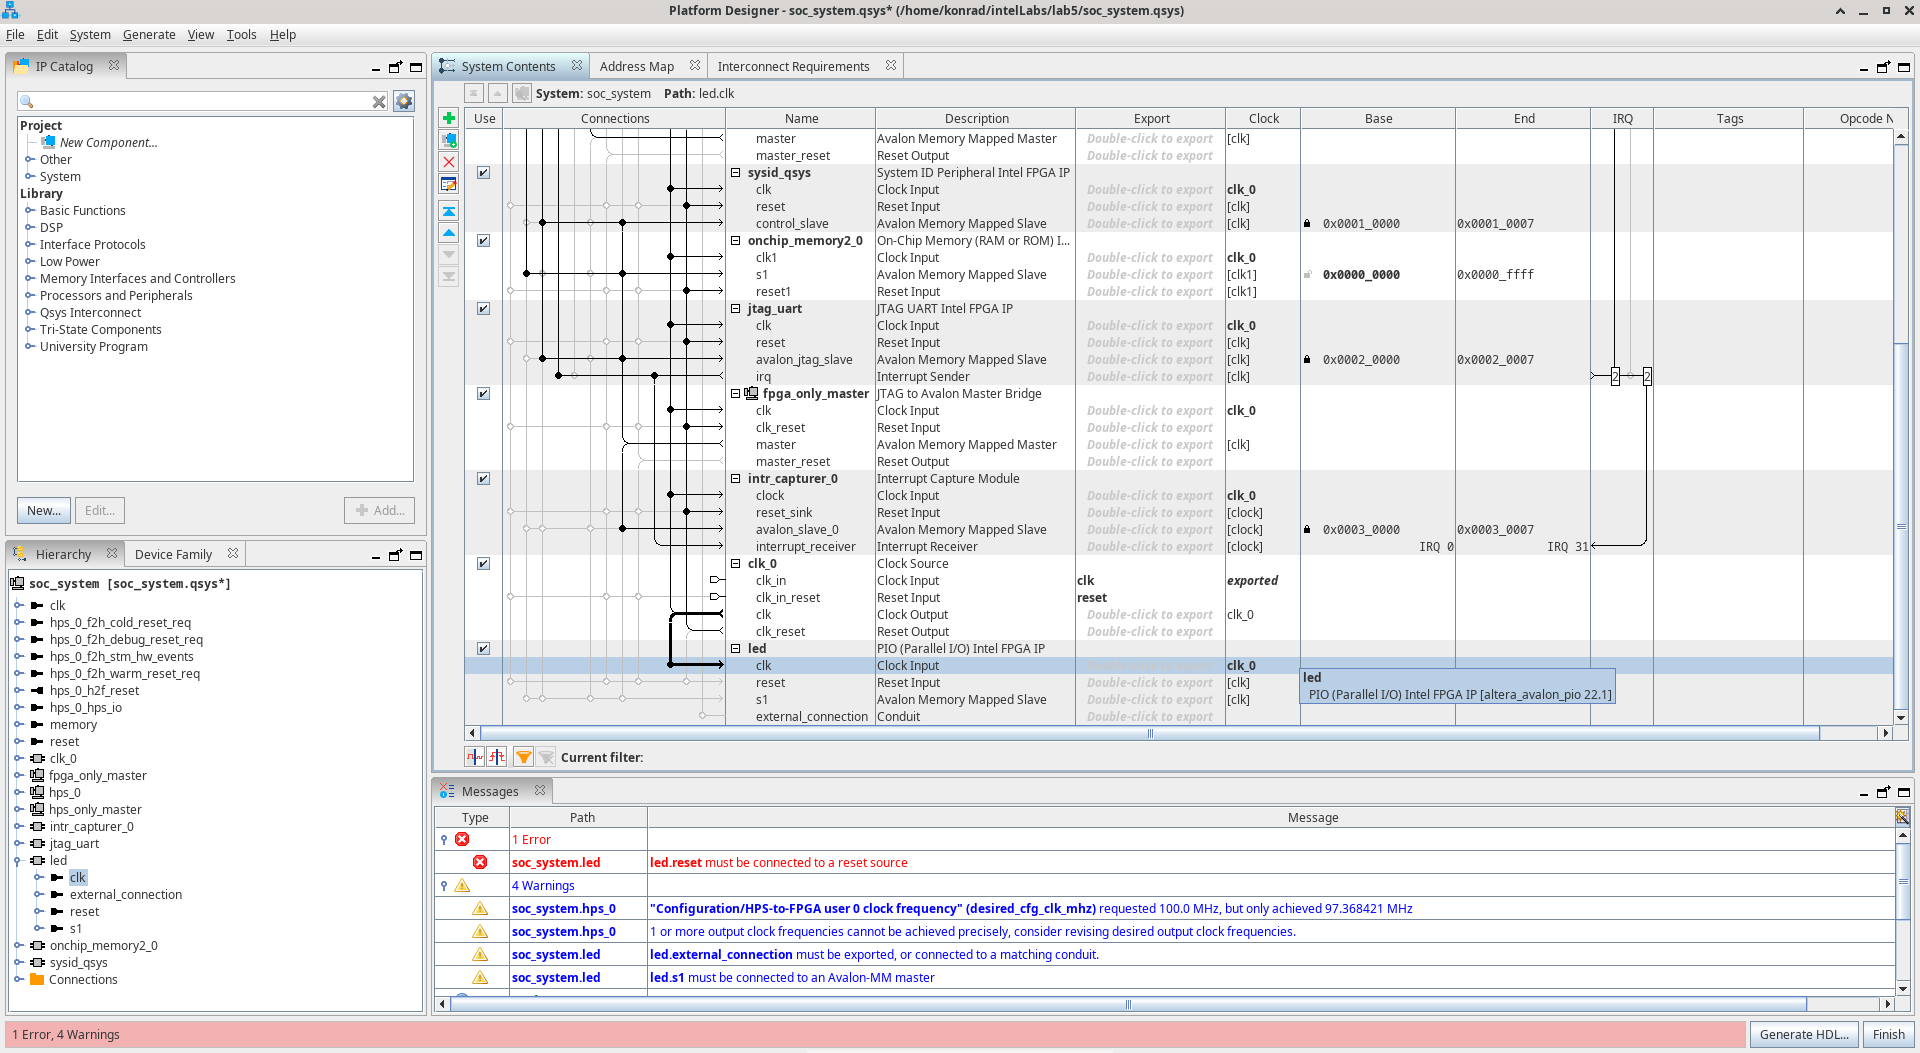
Next connect led clk with clk_0 clk.
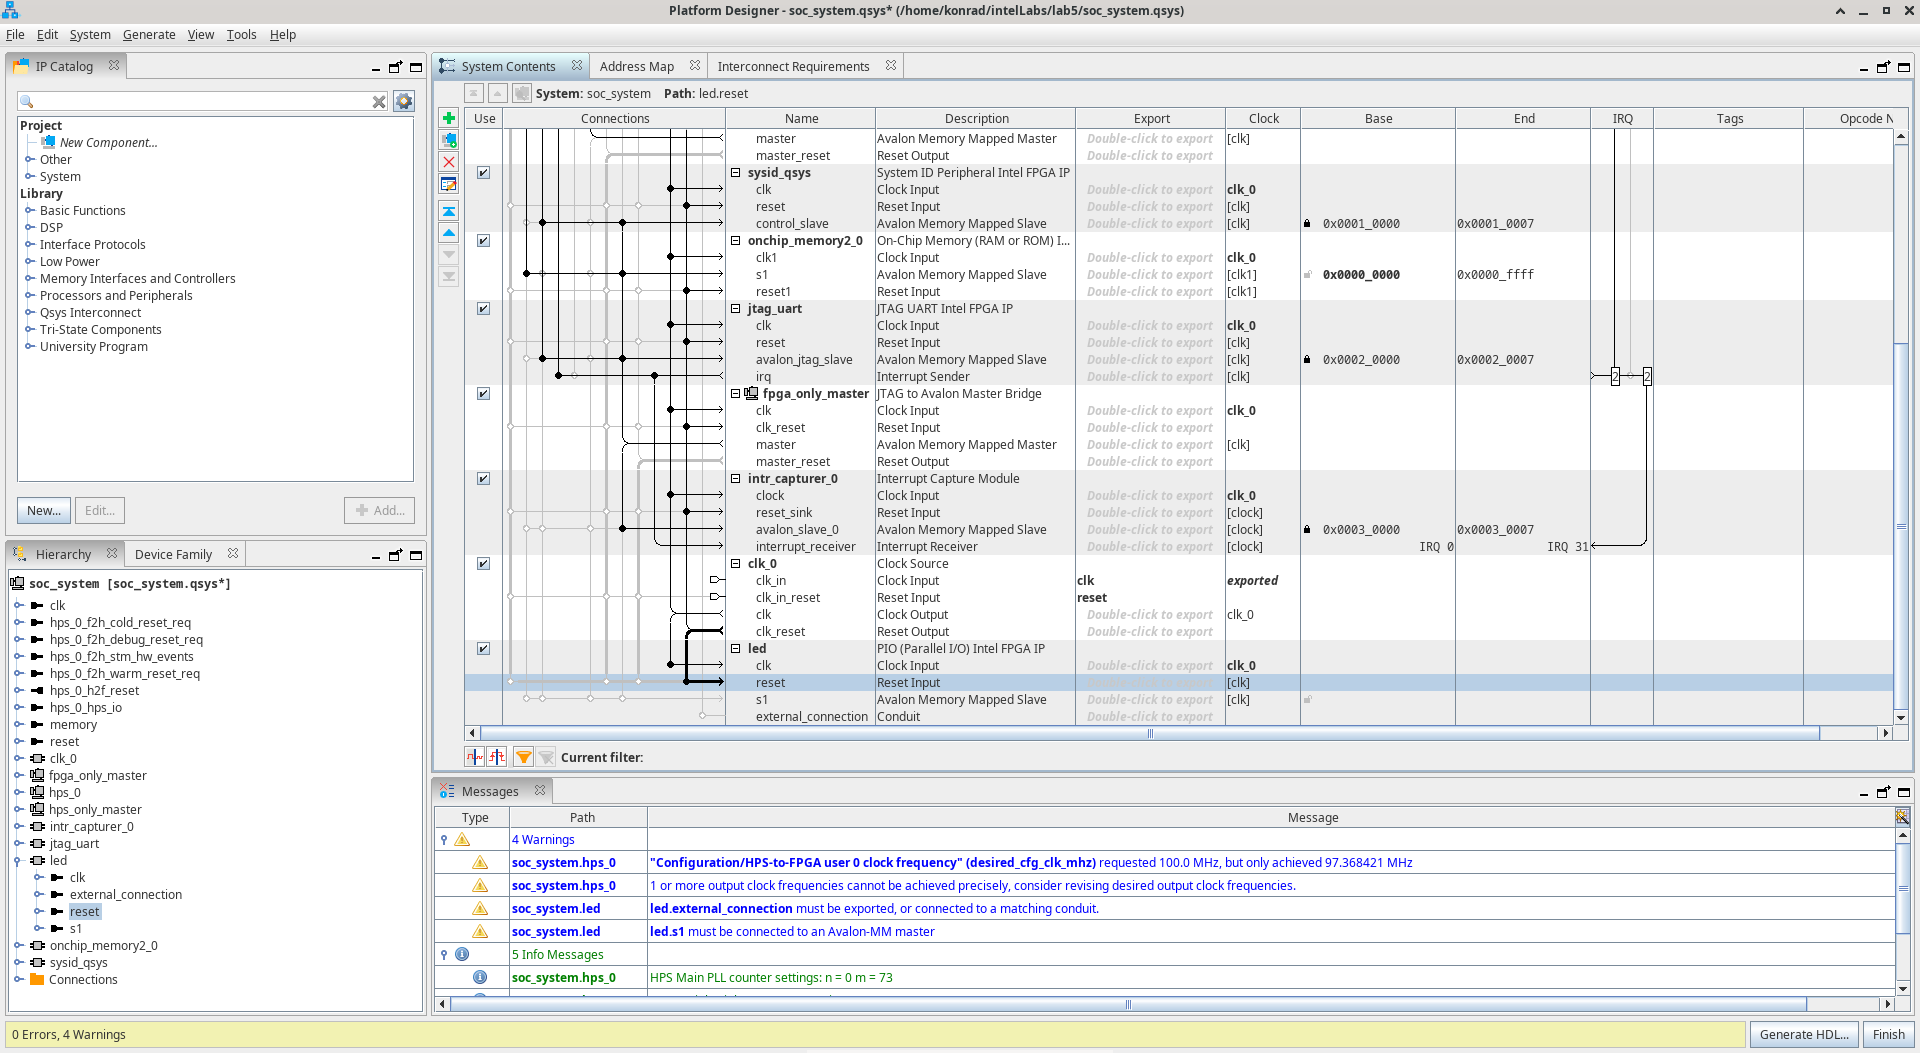
Next connect led reset with clk_0 clk_reset.
Next connect led s1 with hps_0 h2f_lw_axi_master.
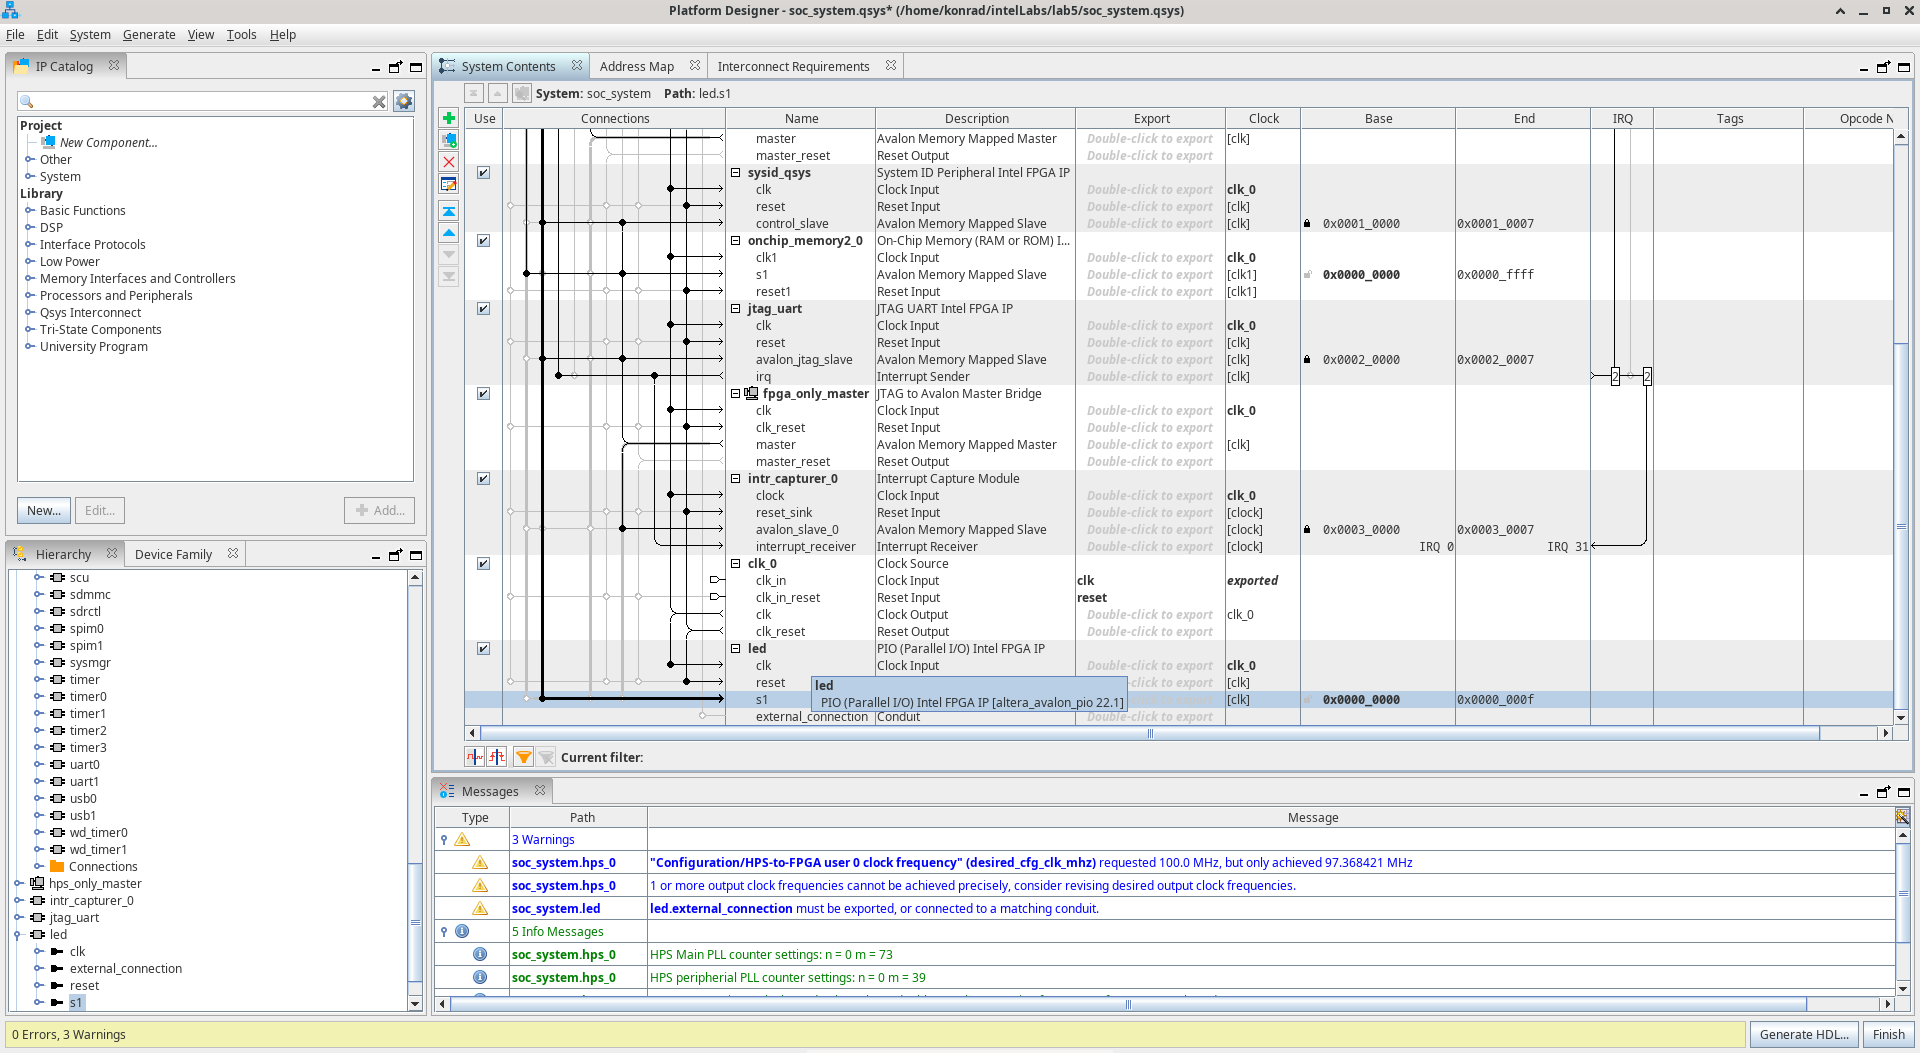
Double-click on Export column next to led external_connection to add an external signal.
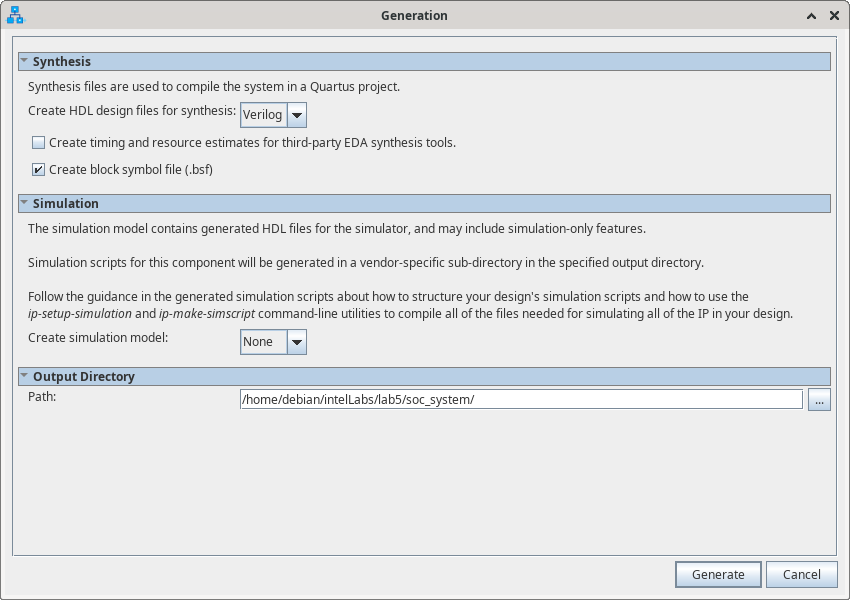
Save changes. Next press Generate HDL…, leave a default settings and press Generate.
In menu find Generate and choose Show instantiation template.
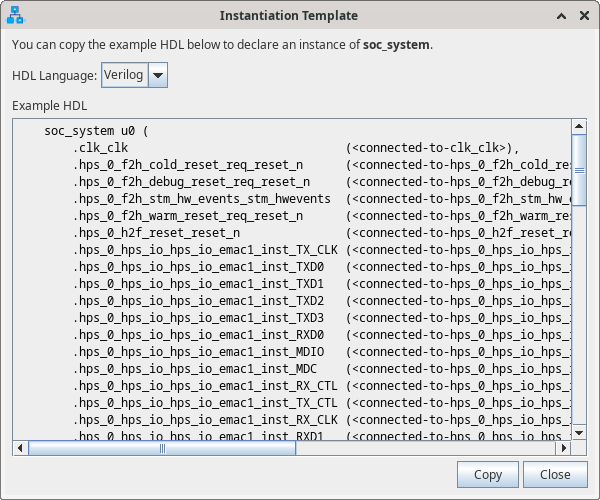
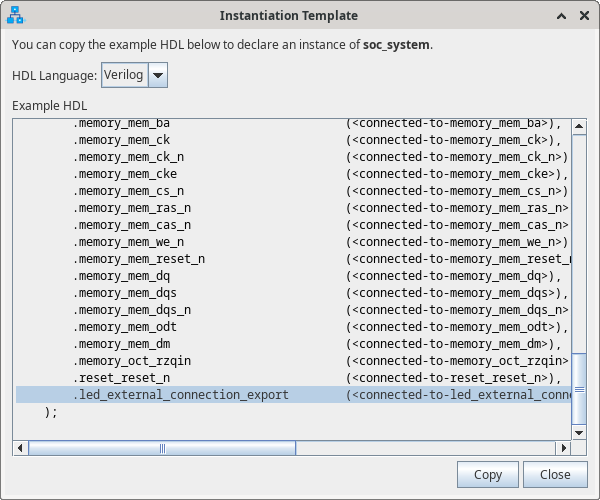
Copy the last line and close window.
Close Platform Designer window.
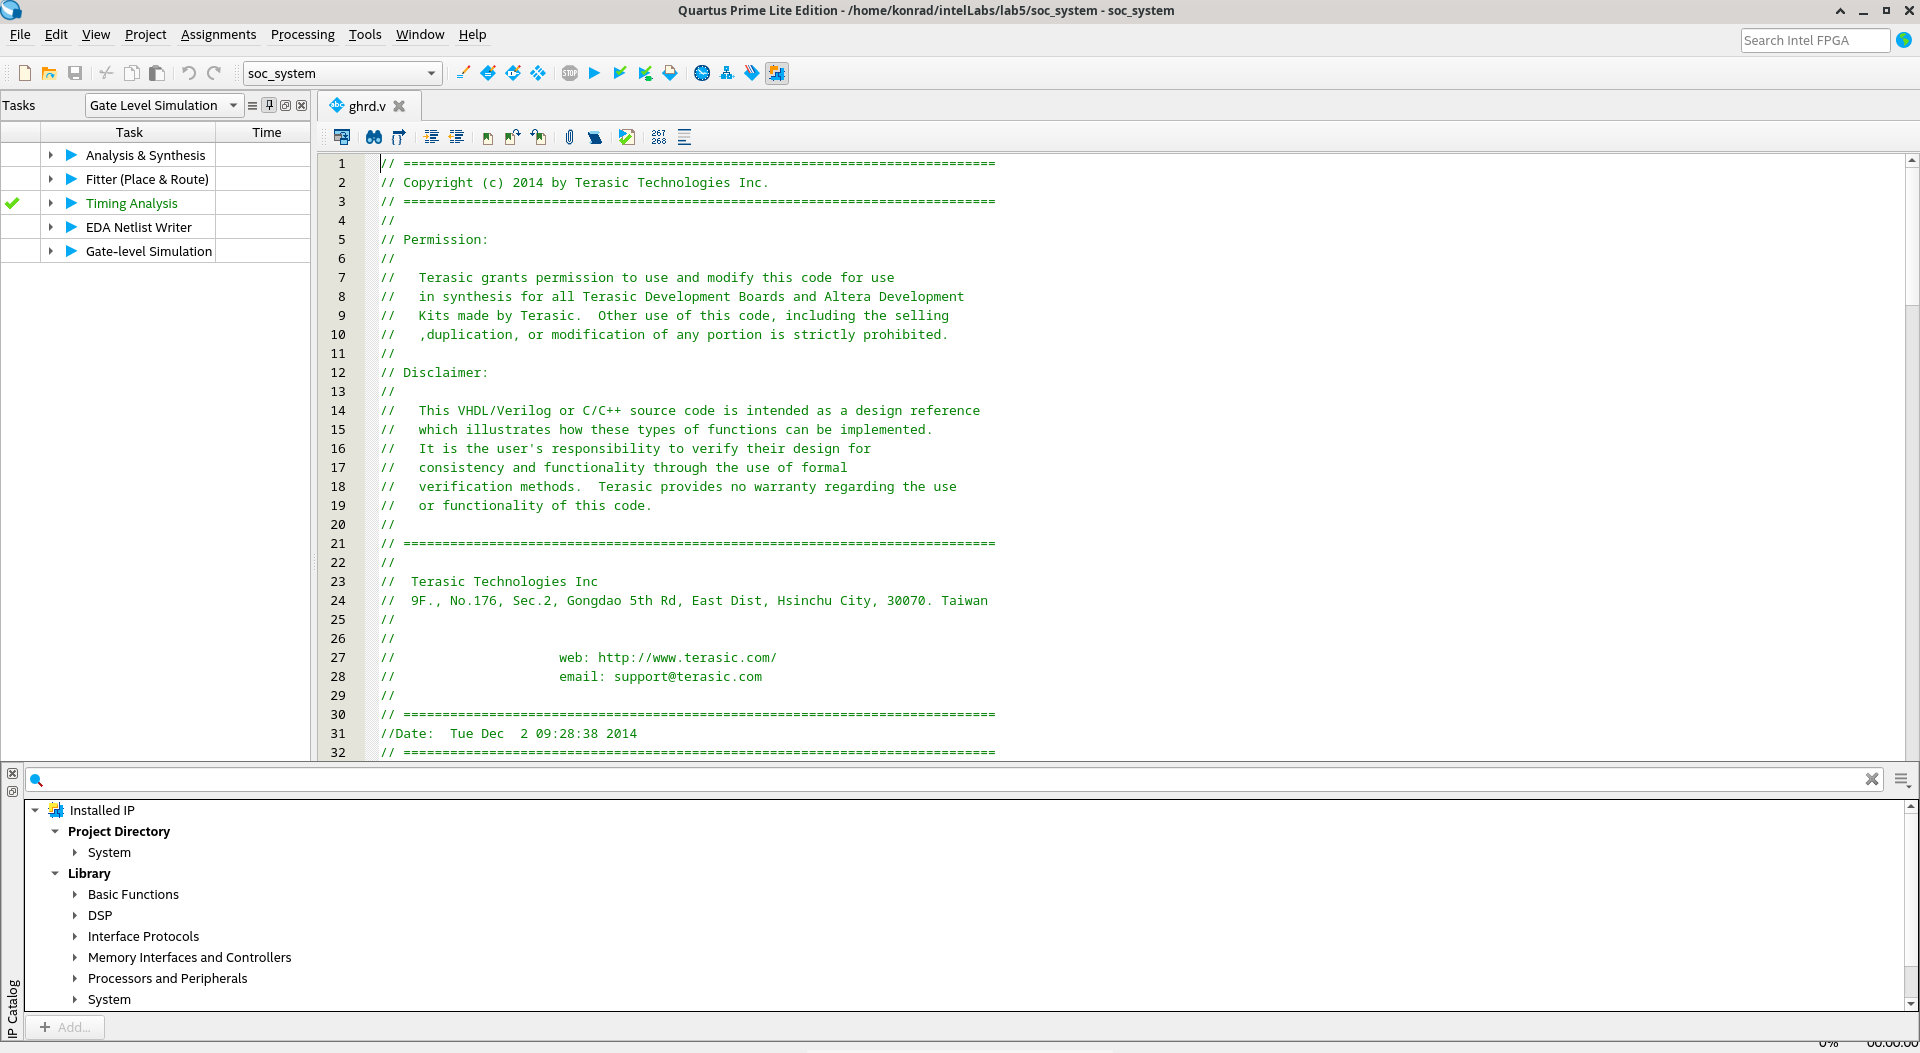
Open ghrd.v in Quartus Prime Lite Edition.
Paste copied line to last line of u0 unit like below and edit text.
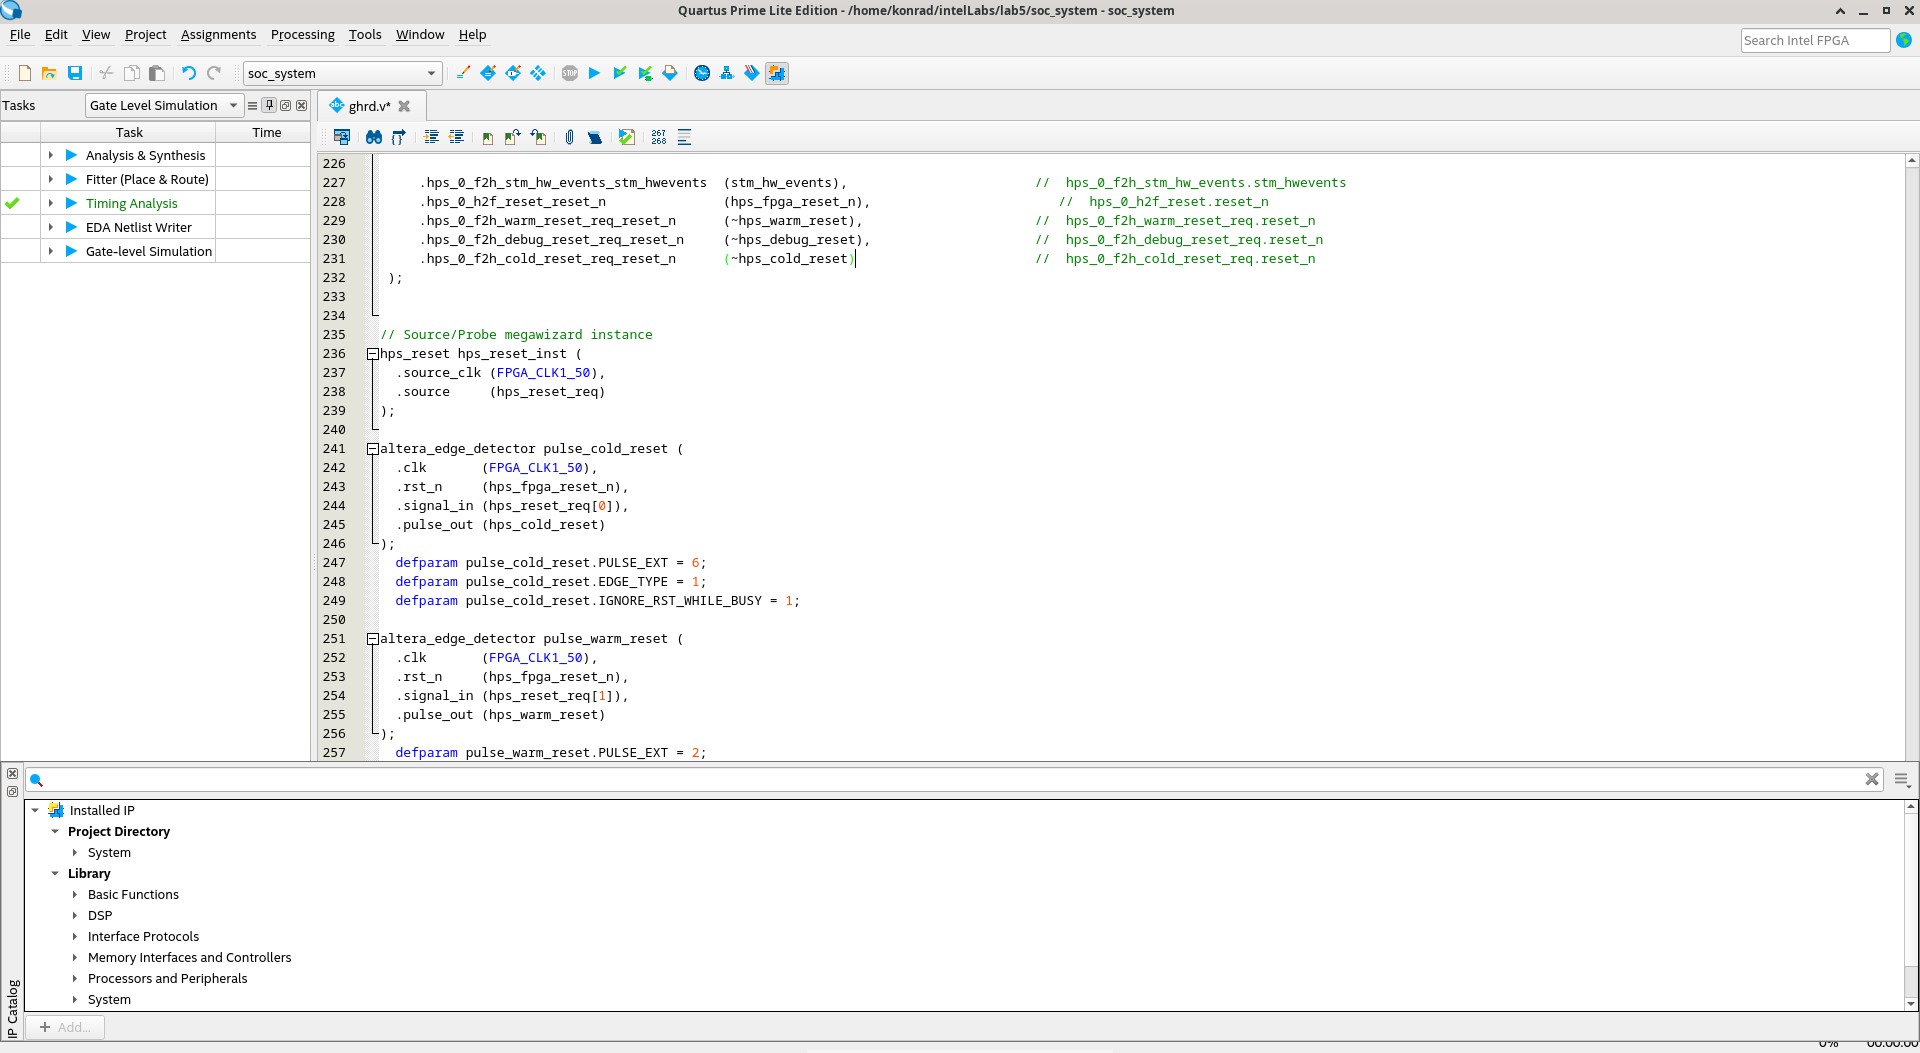
Change Tasks to Compilation and press Compile Design.

Programming
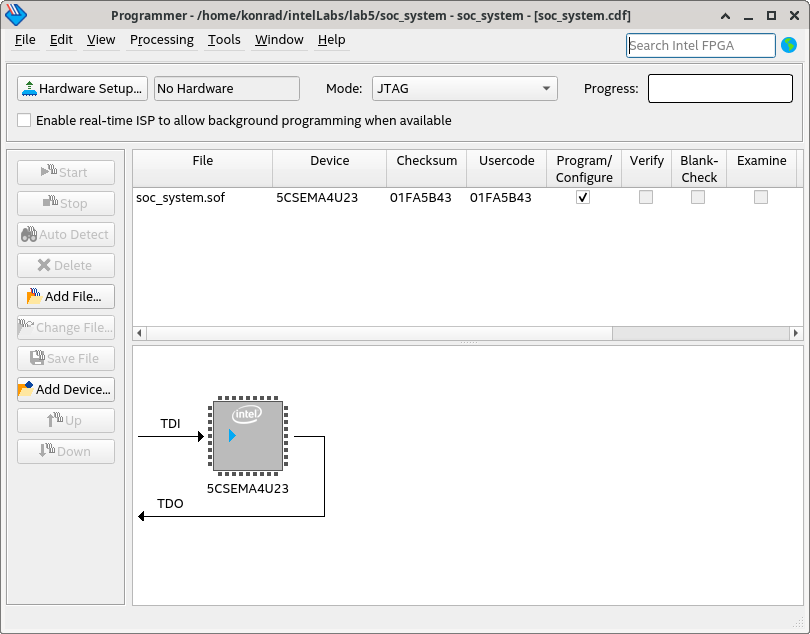
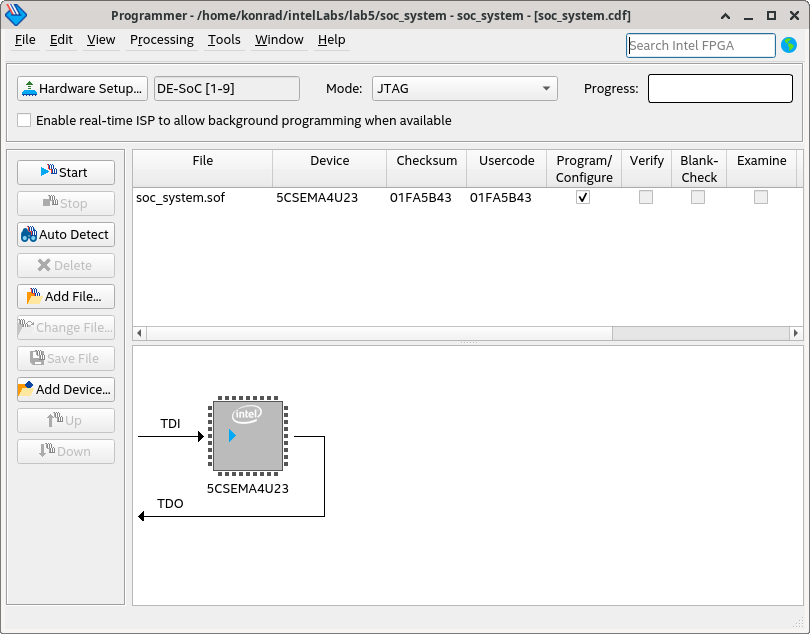
Press Porgrammer in a window of Quartus, Programmer window should open.
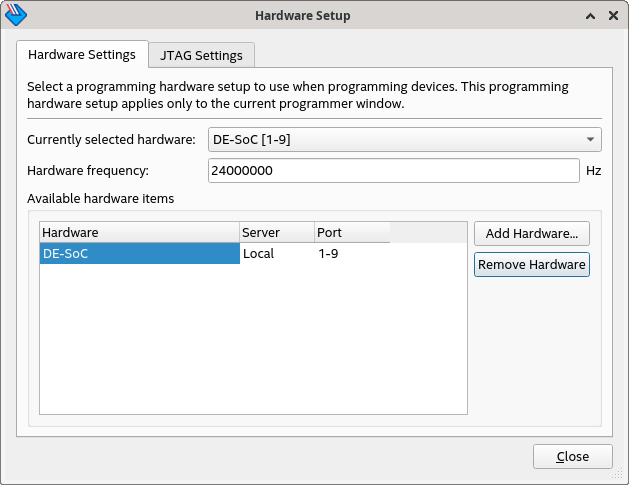
Press Hardware Setup…. On a list find and choose DE-SoC[1-9], then close the window.
Press Auto Detect.
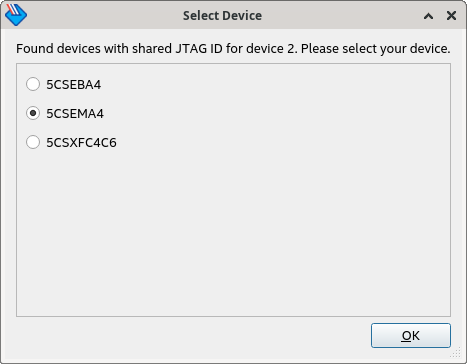
Choose 5CSEMA4.
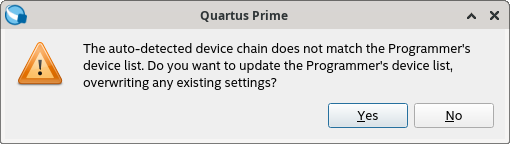
Press Yes.
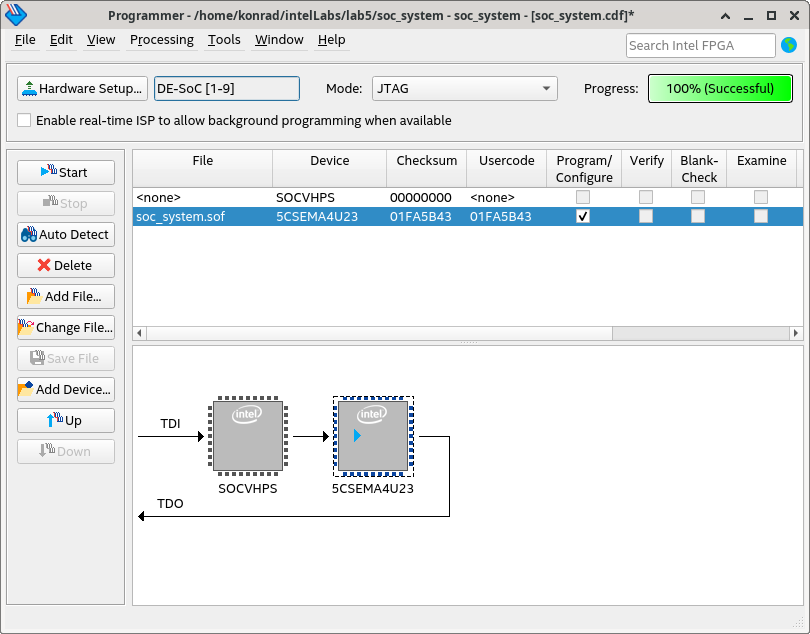
On a list choose 5CSEMA4, then press Change File…, choose soc_system.sof from your project’s directory.

Tick Program/Configure next to 5CSEMA4U23 and press Start.
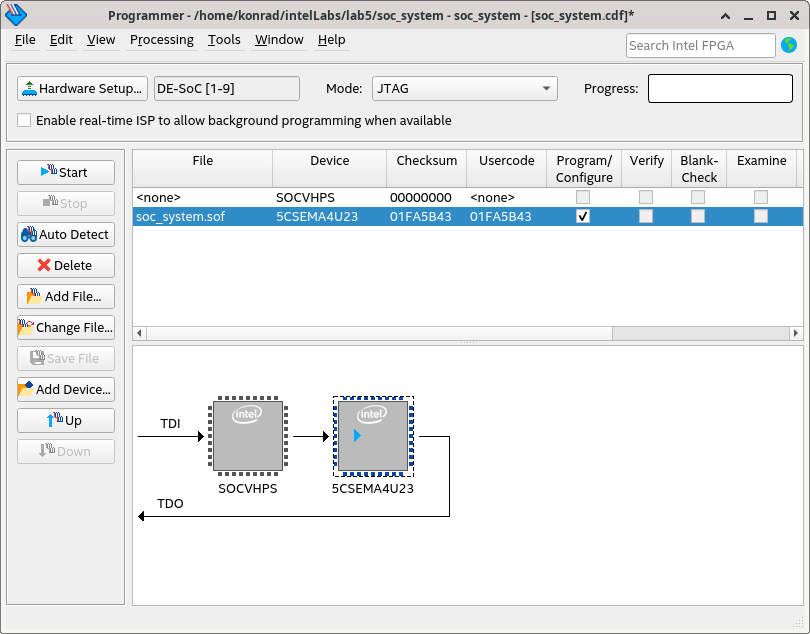
Progress bar should display 100%, it means that the board was programmed succesfully.
Testing
After programming copy my_first_hps-fpga to the board using scp. Then run the program in terminal writting ./my_first_hps-fpga. Effect should look like below.