Linux on DE0 Nano SoC
Building Linux for DE0 Nano SoC
Download Buildroot and make a default configuration for DE0 Nano SoC.
cd ~
git clone git://git.buildroot.net/buildroot buildroot
cd buildroot
make ARCH=arm terasic_de10nano_cyclone5_defconfig
Then build an OS for the board.
make ARCH=arm CROSS_COMPILE=arm-linux-gnueabihf-
Write a prepared OS image into a microSD. sdX is a device name of the microSD in a desktop computer.
sudo dd if=~/buildroot/output/images/sdcard.img of=/dev/sdX bs=1M
If you don’t know the name of the microSD card, you can use fdisk.
sudo fdisk -l
You can also use sudo dmesg it shows last connected device and it’s letter.
Put microSD into a microSD slot. Power on the board and connect to a terminal using picocom.
picocom /dev/ttyUSB0 -b 115200
Login as root.
Writing a software
Create a new directory for your first software project, name it lab6.
Inside the directory create file named main.c and copy and paste code from below to the file.
#include <stdio.h>


int main(int argc, char **argv) {

	printf("Hello World!\r\n");

	return( 0 );
}
Create Makefile for the project inside the directory.
#
TARGET = my_first_hps

#
CROSS_COMPILE = arm-linux-gnueabihf-
CFLAGS = -g -Wall  -I ${SOCEDS_DEST_ROOT}/ip/altera/hps/altera_hps/hwlib/include
LDFLAGS =  -g -Wall
CC = $(CROSS_COMPILE)gcc
ARCH= arm

build: $(TARGET)

$(TARGET): main.o
	$(CC) $(LDFLAGS)   $^ -o $@

%.o : %.c
	$(CC) $(CFLAGS) -c $< -o $@

.PHONY: clean
clean:
	rm -f $(TARGET) *.a *.o *~
Open terminal in the directory and build your first project.
make
You should find a file named my_first_hps in the project directory.
Copying file to the prototyping board
Directly
Copy my_first_hps into microSD card to /home/root directory. Then safety remove the card from a computer and put it into the board.
Over network
If the prototyping board is connected in a computer network, the files can be send to the board for example over ssh protocol using scp command.
Configuring Buildroot
To use SSH on the board, the Buildroot has to be rebuild.
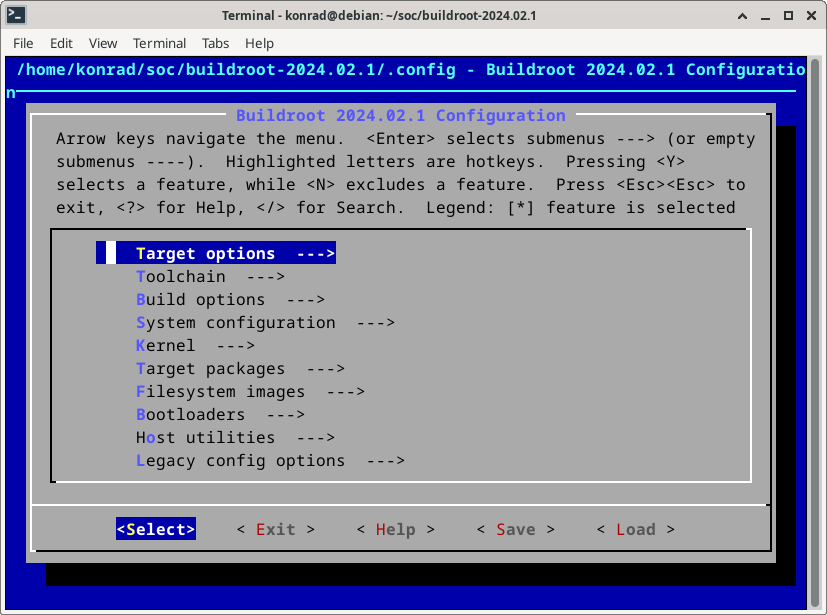
Go into the Buildroot directory and run a configuration.
make ARCH=arm menuconfig
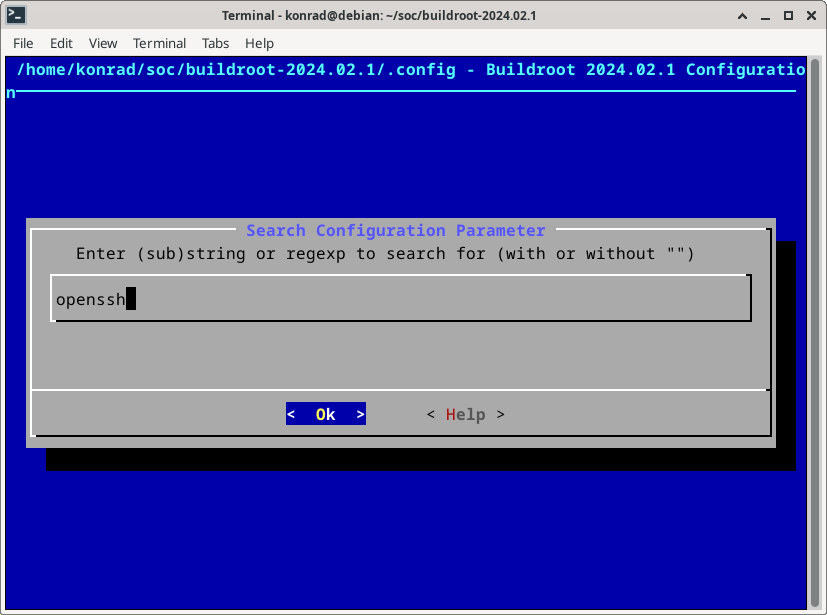
Press / to run finding in menu, then write openssh.
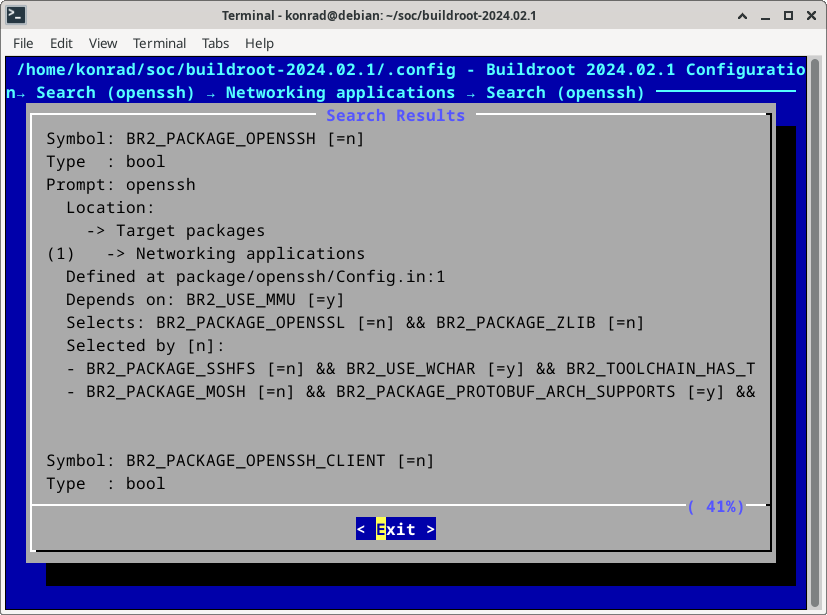
Next press 1 key on the keyboard.
Select openssh by pressing space key on the choice.
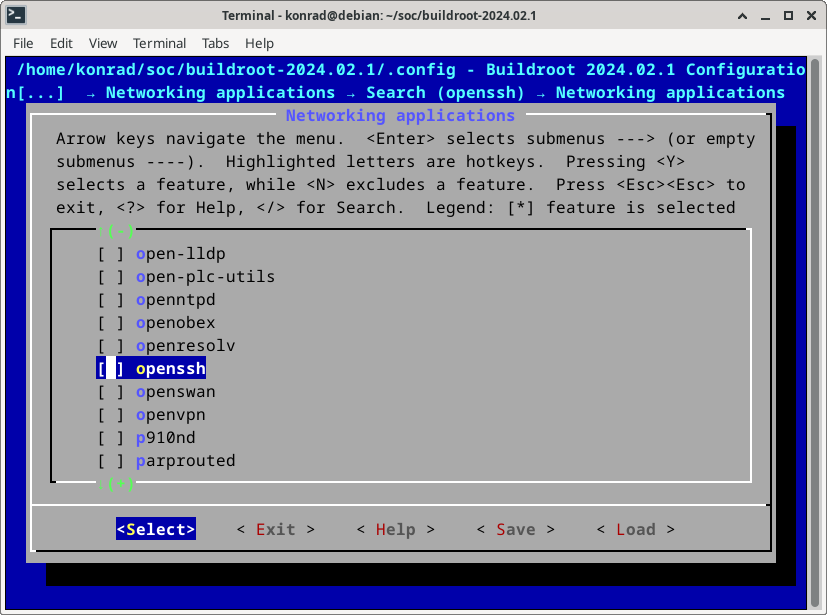
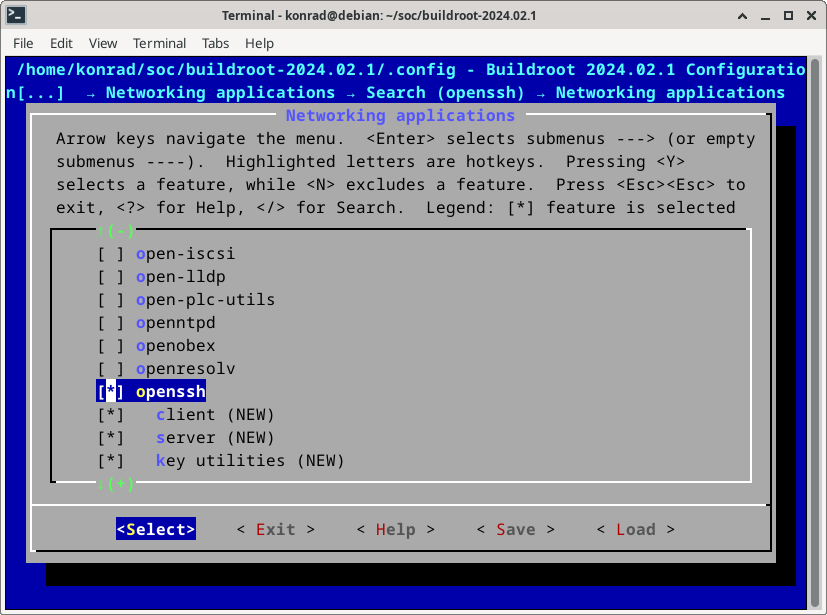
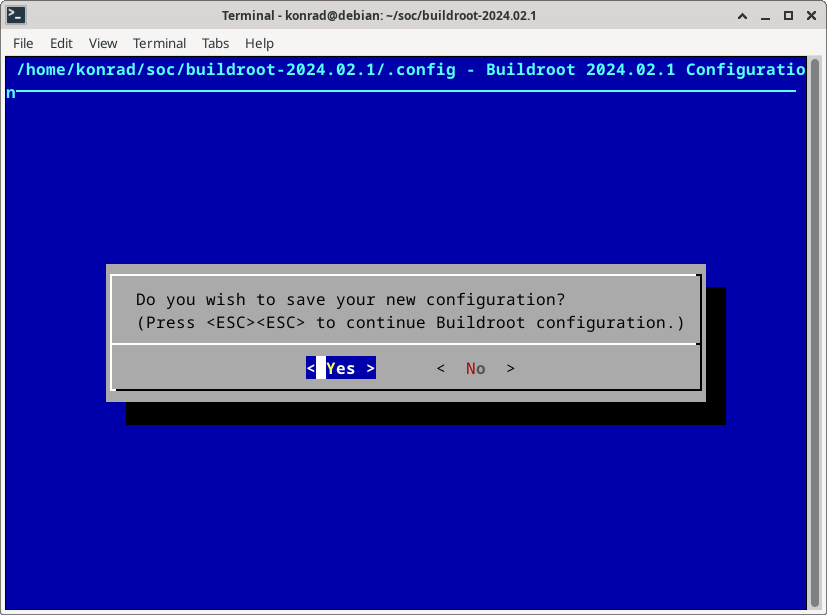
Press Exit in menu at bottom and save the new configuration.
Rebuilding
Build Buildroot again.
make ARCH=arm CROSS_COMPILE=arm-linux-gnueabihf-
Write the new sdimage to the microSD card.
Configuring system
SSH works properly but we want to send files without asking about a user’s password.
After login edit the sshd_config.
vi /etc/ssh/sshd_config
Find and change below settings.
PermitRootLogin yes
PasswordAuthentication yes
PermitEmptyPasswords yes
Write new settings and reboot the board.
reboot
Sending files
Now you can send files directly to the board.
First check the board IP.
ifconfig eth0
Send my_first_hps using the scp, remember to change the IP address.
scp my_first_hps root@192.168.1.114:/root